How to create, update, and use personal and public appointment templates
Providers and staff now have the flexibility to create new appointment templates and modify existing ones. Administrative staff can also create public templates that can be shared and accessed by providers across the practice. This enhancement streamlines workflow, reduces repetitive data entry, and ensures consistency in appointment details across the care team.
This guide covers how to save, update, and manage appointment templates. The available functionalities may vary slightly depending on whether you are a Provider, Provider Admin, or Staff member.
For Providers
Create Personal Templates
Providers can create and save appointment templates for their personal use. Templates can be saved either during an appointment or from the appointment snapshot pop-up window outside of an appointment.
Please note that the ID and Chief Complaint by Patient fields are excluded from templates, as they are automatically generated by the system when an appointment is created. Templates can be customized to include the following sections and fields:
- History
- On Examation
- Assessment
- Assessment
- Diagnosis
- Plan
- Prescribed Medications
- Disposition
- Checkbox Options:
- Follow up with family physician
- Follow up on Rocket Doctor if symptoms persist
- Advised to monitor symptoms closely
- Present to ER if symptoms worsen
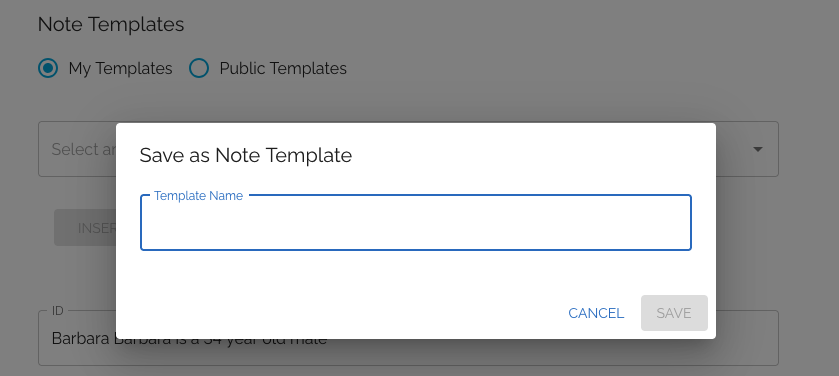
You can customize the layout of your template by pressing the Enter key to add line breaks. After finalizing your template, click the "Save As Template" button—a confirmation pop-up will then appear.

To complete the process, you must enter a template name in the designated field. This ensures the system can accurately track and display your saved templates in the dropdown. After entering a name, click the "Save" button to save your template.
Note: If a template with the same name already exists, you will need to choose a unique name to prevent any confusion.
Use Existing Personal Templates
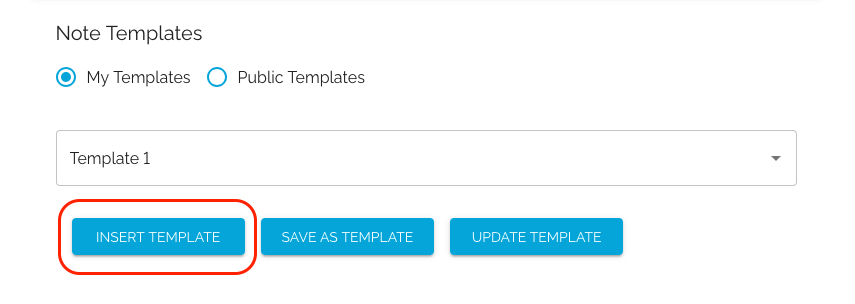
To use a saved template, begin by ensuring that you have selected the "My Templates" option. Then, choose the desired template from the list. Once selected, click the "Insert Template" button, and the templated text will be automatically inserted into your appointment note.
Note: If any information has already been entered into your appointment note—either by you or by our Patient Care team—the existing details will remain intact. The new templated text will simply be added below the previously saved information, ensuring nothing is overwritten.
Update Existing Personal Templates
To update an existing personal appointment template, first make sure you have selected the "My Templates" option, then choose the template from the dropdown menu. Next, click the "Insert Template" button to automatically insert the templated text into your appointment note.
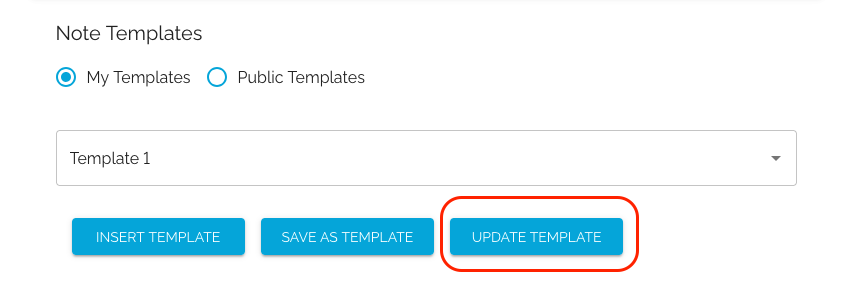
After making your updates, click the "Update Template" button to save the changes.
Note: If you would like to save the changes as a new template, click the "Save As Template" button and enter a new template name.
Use Public Templates
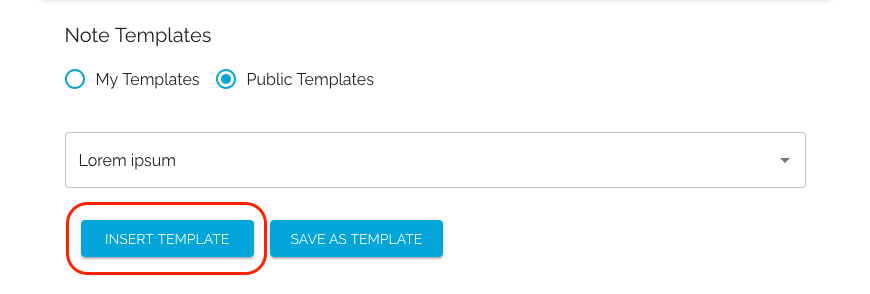
To use a public template, start by ensuring that you have selected the "Public Templates" option. Then, choose the desired template from the list. Once selected, click the "Insert Template" button, and the templated text will be automatically inserted into your appointment note.
Note: As with your personal templates, if any information has already been entered into your appointment note, the existing details will remain unchanged, and the templated text will be added below the previously saved information.
For Provider Admin and Staff
For Provider Admins and Staff members, the process of creating, using, and updating appointment templates is the same as for Providers, as described above. The only additional capability is the ability to create and update public appointment templates.
Create Public Appointment Templates
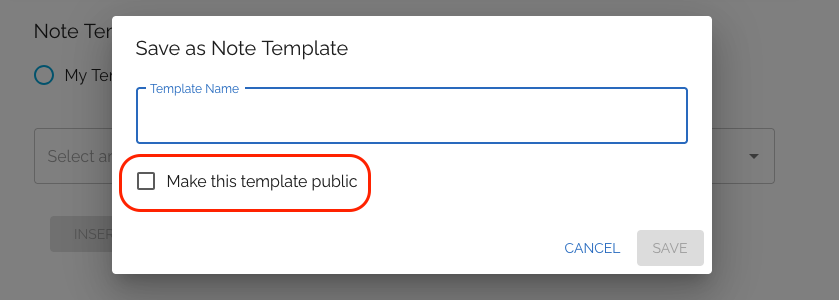
When saving a new appointment template, in addition to providing a template name, check the "Make this template public" box to make the template available to all providers in the system.
Note: Currently, only the original author of the template has the ability to make any updates to it.